|
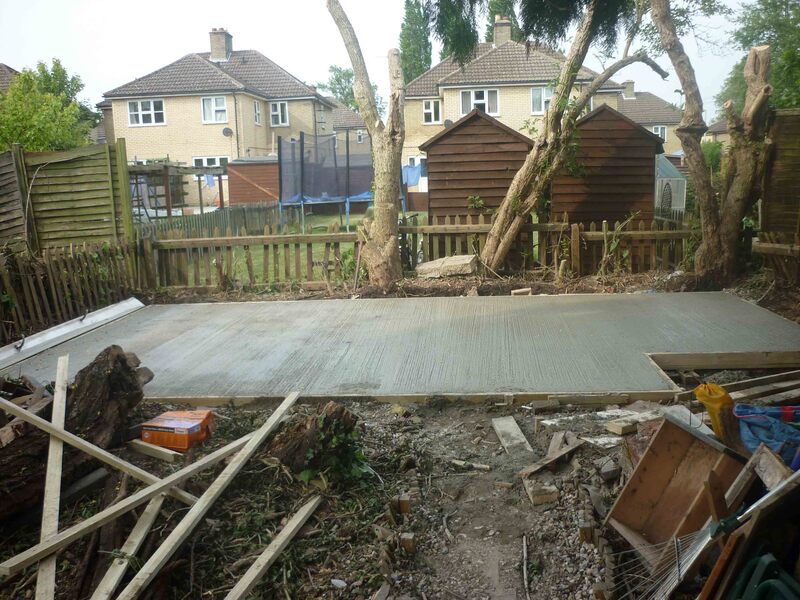
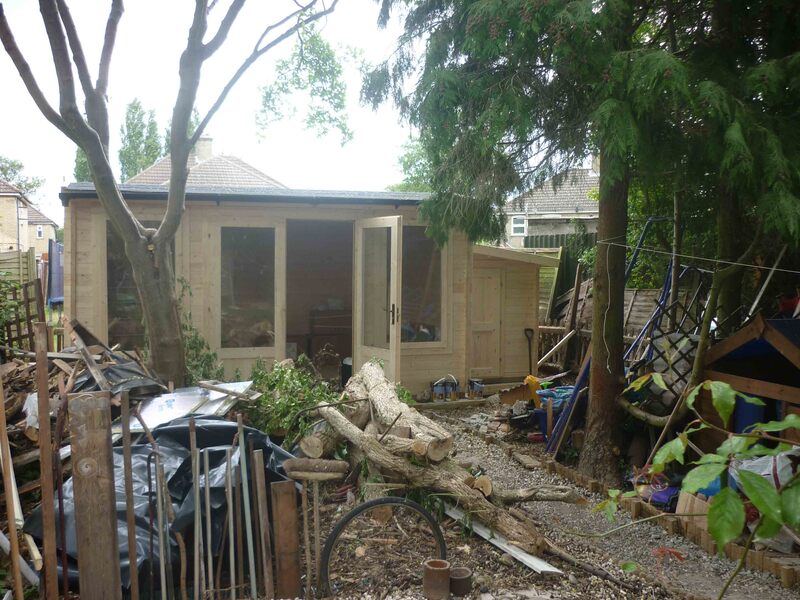
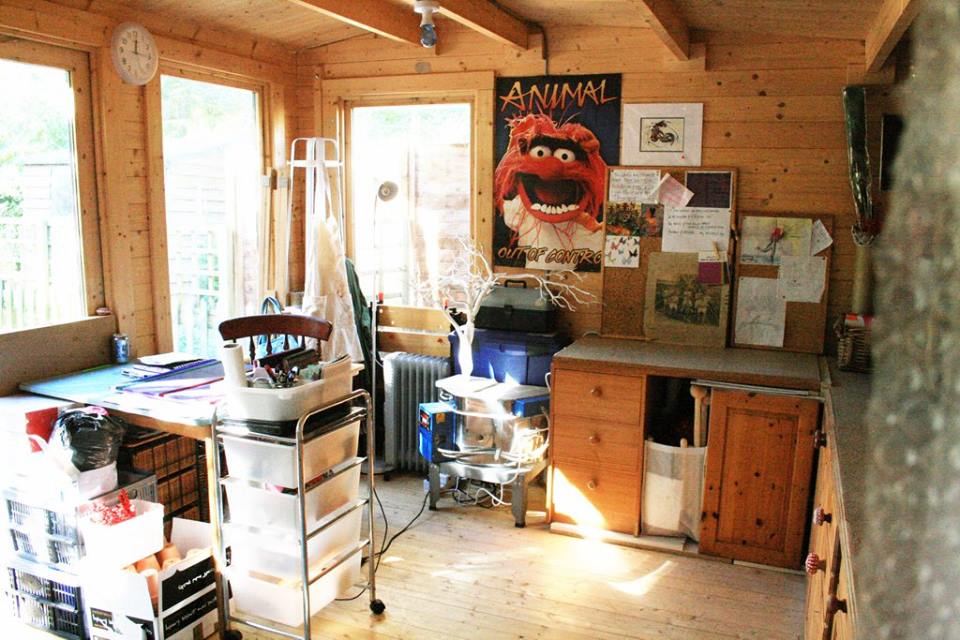
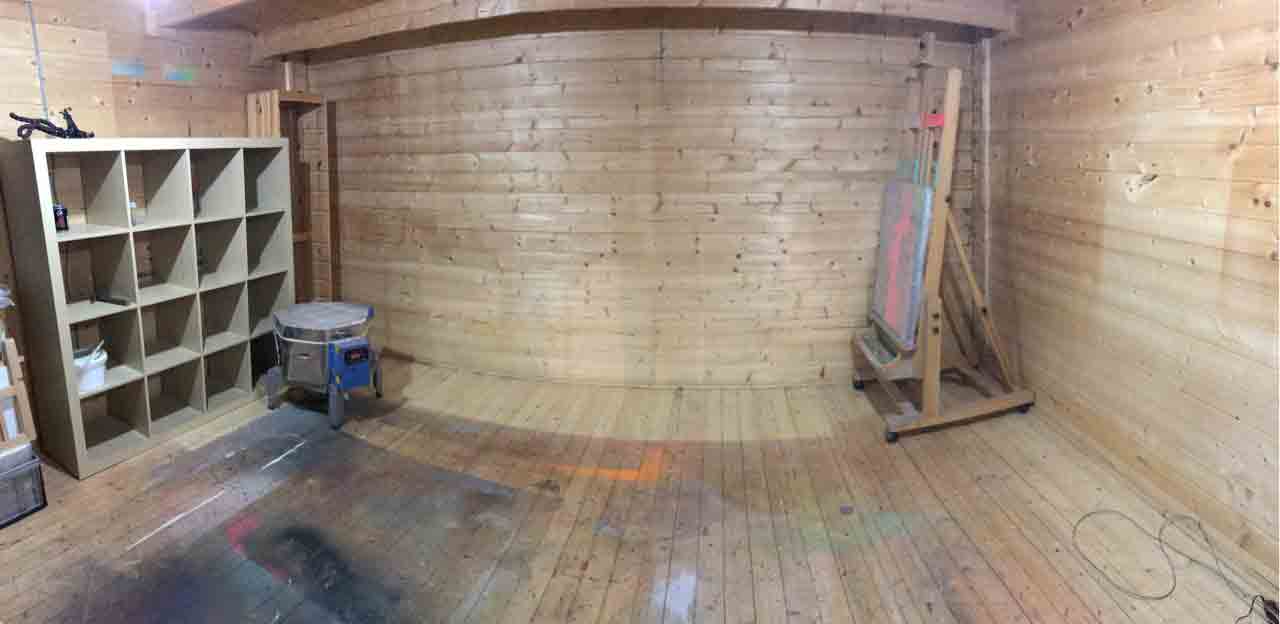
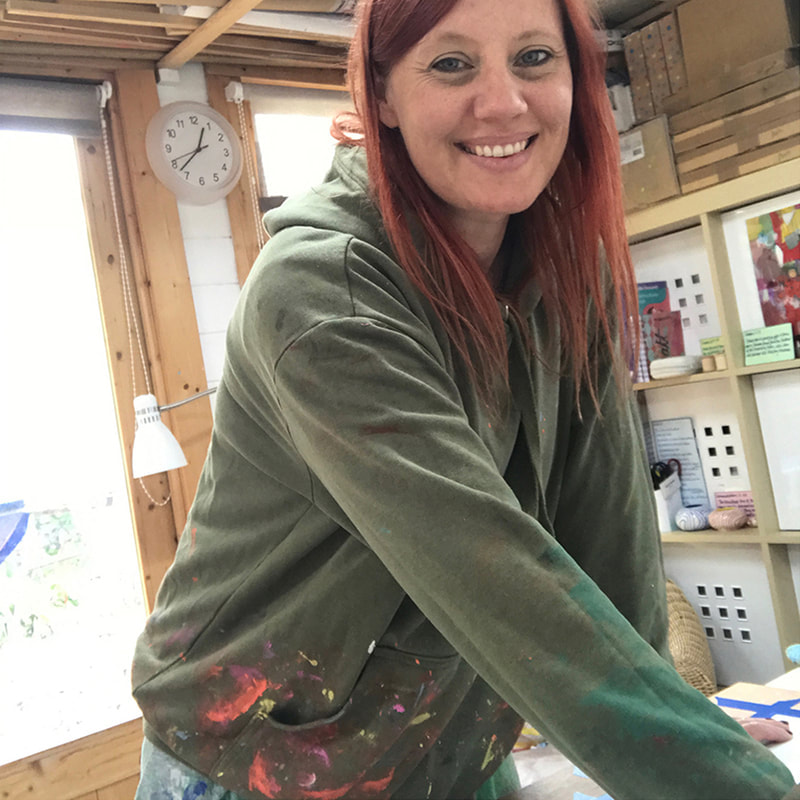
Many of you may have been following my various posts on social media documenting the restyle of my garden studio. Well I’m finally ready to show you the results! How to set up a home studio Once upon a time, 8 years ago... the thing is, as with most things, you have to start where you are. Originally my studio was built when I was pregnant with our youngest daughter 8 years ago - we were needing to create a bedroom in our loft and to create a storage space. We replaced the dilapidated ancient shed in the garden with a new structure and filled it will ‘stuff’. 4 years later my daughter started school and I started to work full-time as an artist - I cleared the space and set it up as a studio... Voila! Now 4 years on from that, my art and business needs have changed. I’m working larger, I need a clearer space to work and a larger space to store finished art. I was looking into the idea of renting a 2nd studio for storage but after brainstorming with an artists community I’m a member of, I realised that there were creative ways to restyle what I already had and make it work better. An artist working from home
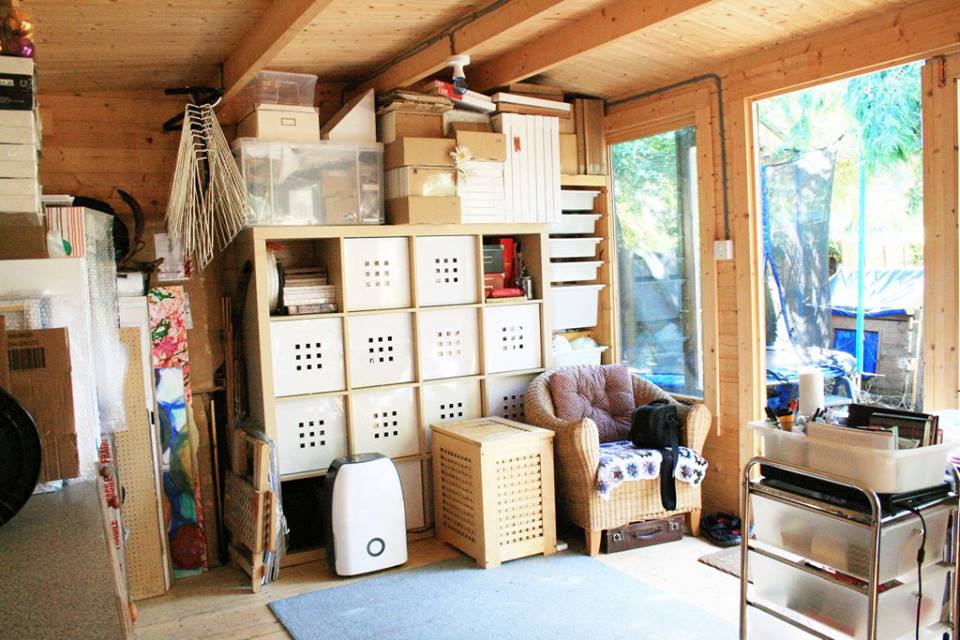
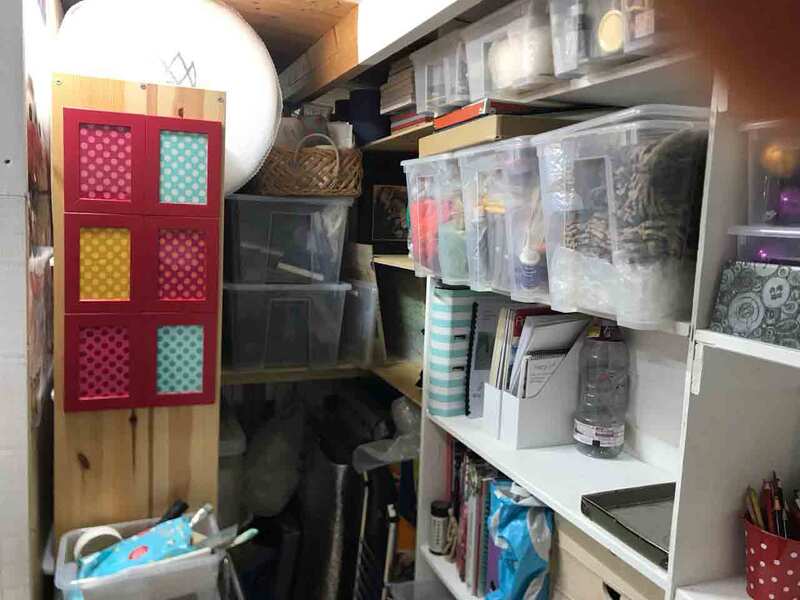
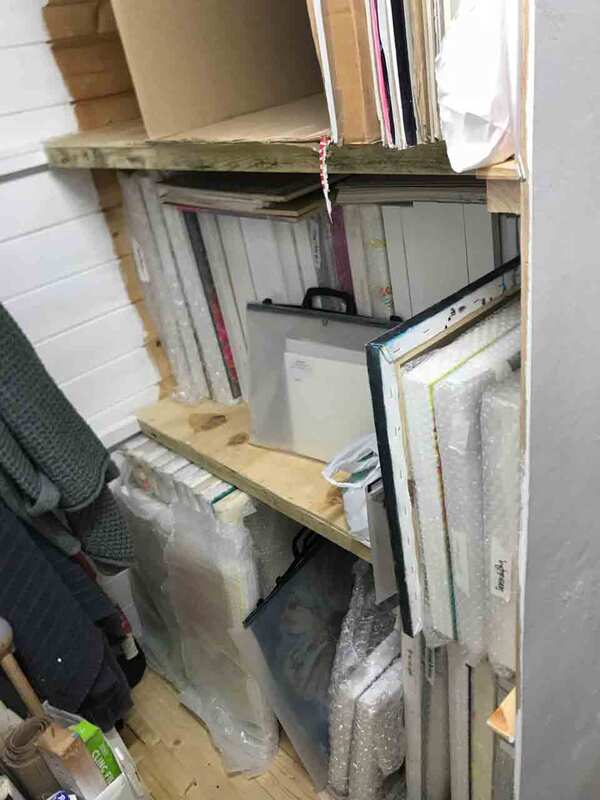
Art Studio Storage Solutions
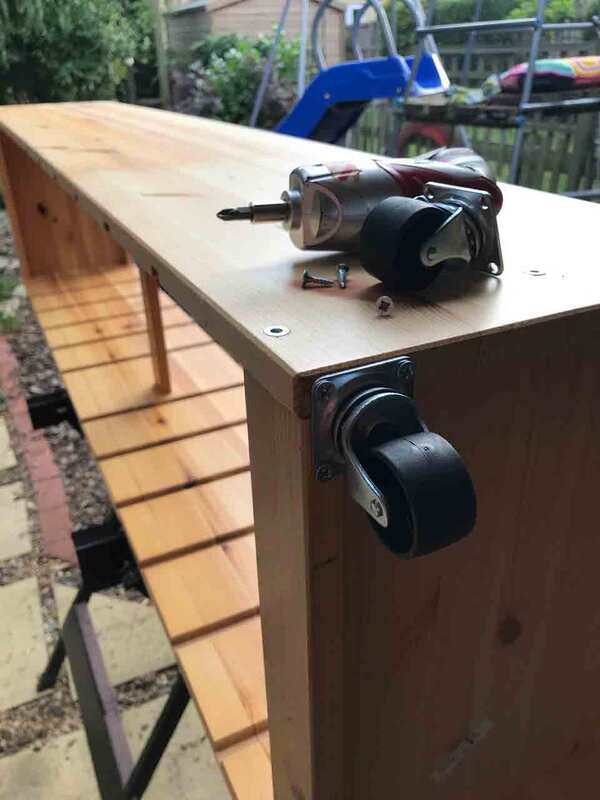
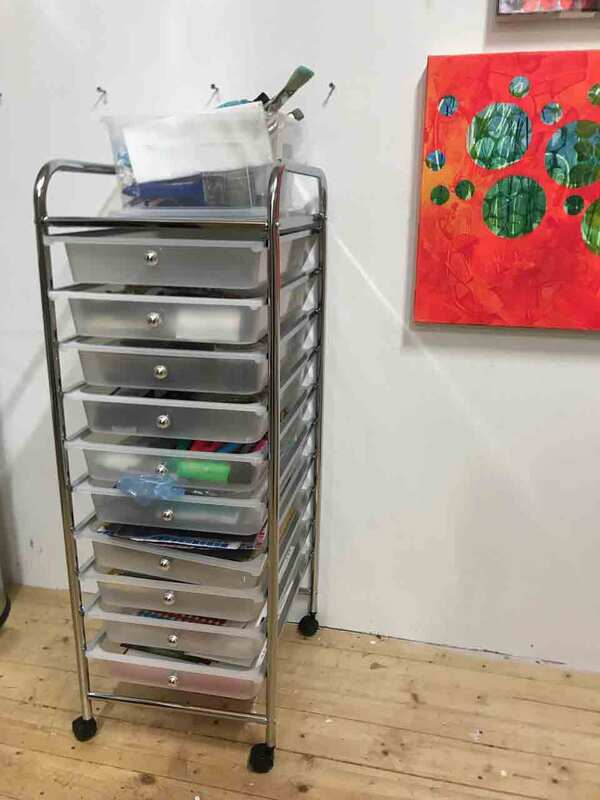
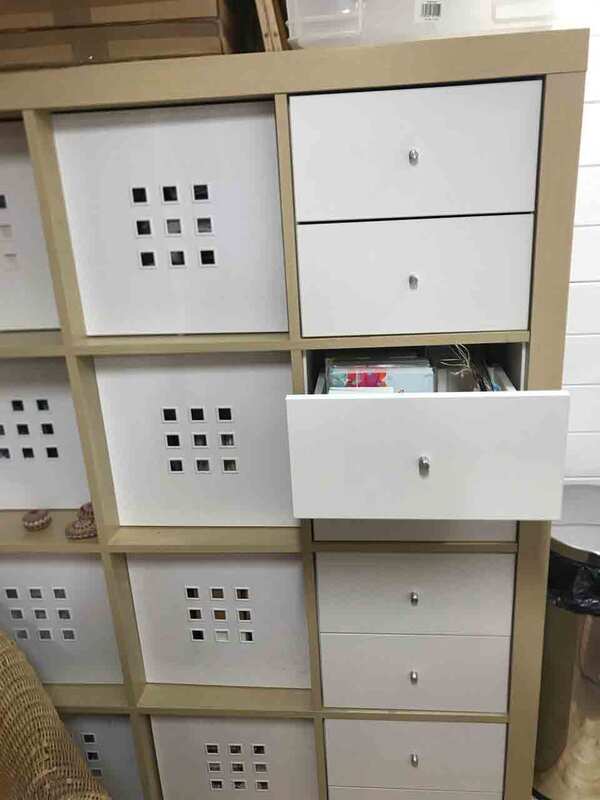
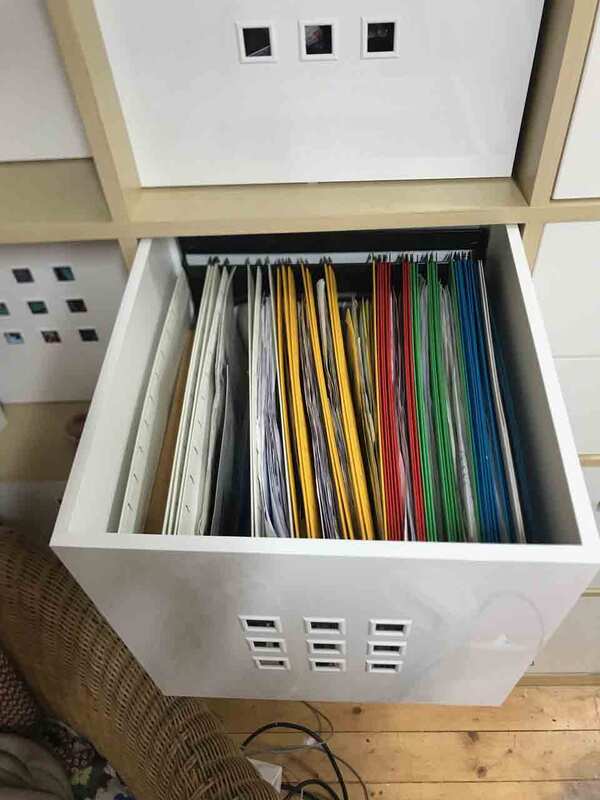
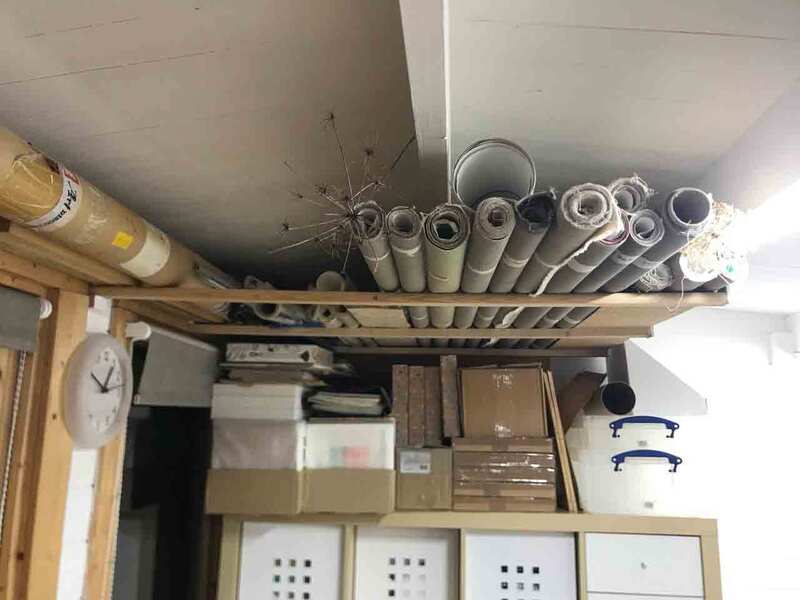
Some helpful additions I’ve added a few new bits and pieces to help the space function better. I’ve put castor wheels on a unit, so it can be pulled in and out of the storage area, I’ve bought a cheap chest of drawers on wheels to store all my little bits and to double up as a moveable trolley for my paints and palette. I’ve bought some Ikea drawer inserts for my Expedit unit, I’ve turned one of these Expedit cubes into a filing cabinet by remodelling a free standing filing box from Amazon and I had a some brackets put into the ceiling to hold all my long rolled canvases and pieces of wood etc Transformation Video And I videoed the whole thing, cos I knew you’d want to see it all happen! Here is a time-lapse of the transformation from my old art studio into my beautiful new one.
|
sign up for blog & newsletter updates
follow me on instagramCategories
All
|

